How Paint Condition Affects Ceramic Coating Results
A Complete Preparation Guide for Long-Lasting Protection
When people hear about ceramic coating, it’s easy to assume it’s a one-step, miracle solution—apply it once and your car stays protected and glossy forever. The reality is a little different.
Ceramic coating is incredibly effective, but only when it’s applied to properly prepared paint. If your vehicle’s surface has scratches, oxidation, or embedded contaminants, the coating can’t bond correctly. That leads to reduced protection, lower gloss, and a much shorter lifespan.
If you’re considering ceramic coating for your vehicle, understanding how paint condition affects the final results can save you money, frustration, and disappointment.
The Bottom Line (What Every Car Owner Should Know)
The condition of your vehicle’s paint plays a major role in how well a ceramic coating performs.
Thorough cleaning, decontamination, and paint correction allow the coating to bond properly, resulting in better durability, stronger water-repelling properties, and noticeably higher gloss.
Skipping paint prep often leads to:
- Reduced shine
- Uneven coating performance
- Shortened coating lifespan
- Visible defects locked under the coating
In short: ceramic coating doesn’t fix paint—it protects what’s already there.
Why Paint Condition Can Make or Break a Ceramic Coating
Think about applying a clear protective layer over a rough surface—it won’t look smooth, and it won’t last. The same principle applies to ceramic coatings.
Scratches, oxidation, old wax, and environmental contaminants create an uneven surface that prevents proper bonding. Ceramic coatings are designed to chemically bond to clean, smooth paint. When that bond is weak, protection fades faster and water-repelling performance suffers.
On properly corrected paint, ceramic coatings typically achieve significantly stronger adhesion and noticeably higher gloss levels. On neglected paint, the coating may still offer some protection—but nowhere near its full potential.
For Michigan drivers dealing with road salt, harsh winters, and urban driving conditions in places like Lincoln Park, Dearborn, and Taylor, proper preparation isn’t optional—it’s essential.
At Orozco’s Auto Detailing, paint prep isn’t just a step in the process—it’s the foundation of every ceramic coating service we perform.
Common Paint Imperfections That Affect Ceramic Coating Results
Before any ceramic coating is applied, it’s important to identify existing paint defects. These issues don’t disappear under a coating—they become more noticeable.
Swirl Marks
Swirl marks are fine scratches caused by improper washing or dirty towels. They scatter light, reducing gloss and making paint appear dull even after coating.
Oxidation
Oxidation occurs when UV exposure breaks down the clear coat, leaving paint faded or chalky. Oxidized paint struggles to bond with ceramic coatings and often results in weaker protection.
Water Spots
Mineral deposits from hard water can etch into the paint over time. If not corrected, these spots remain visible and disrupt the coating’s smooth finish.
Scratches
Scratches range from light surface marks to deeper defects. While ceramic coating can protect against future damage, it will not hide existing scratches.
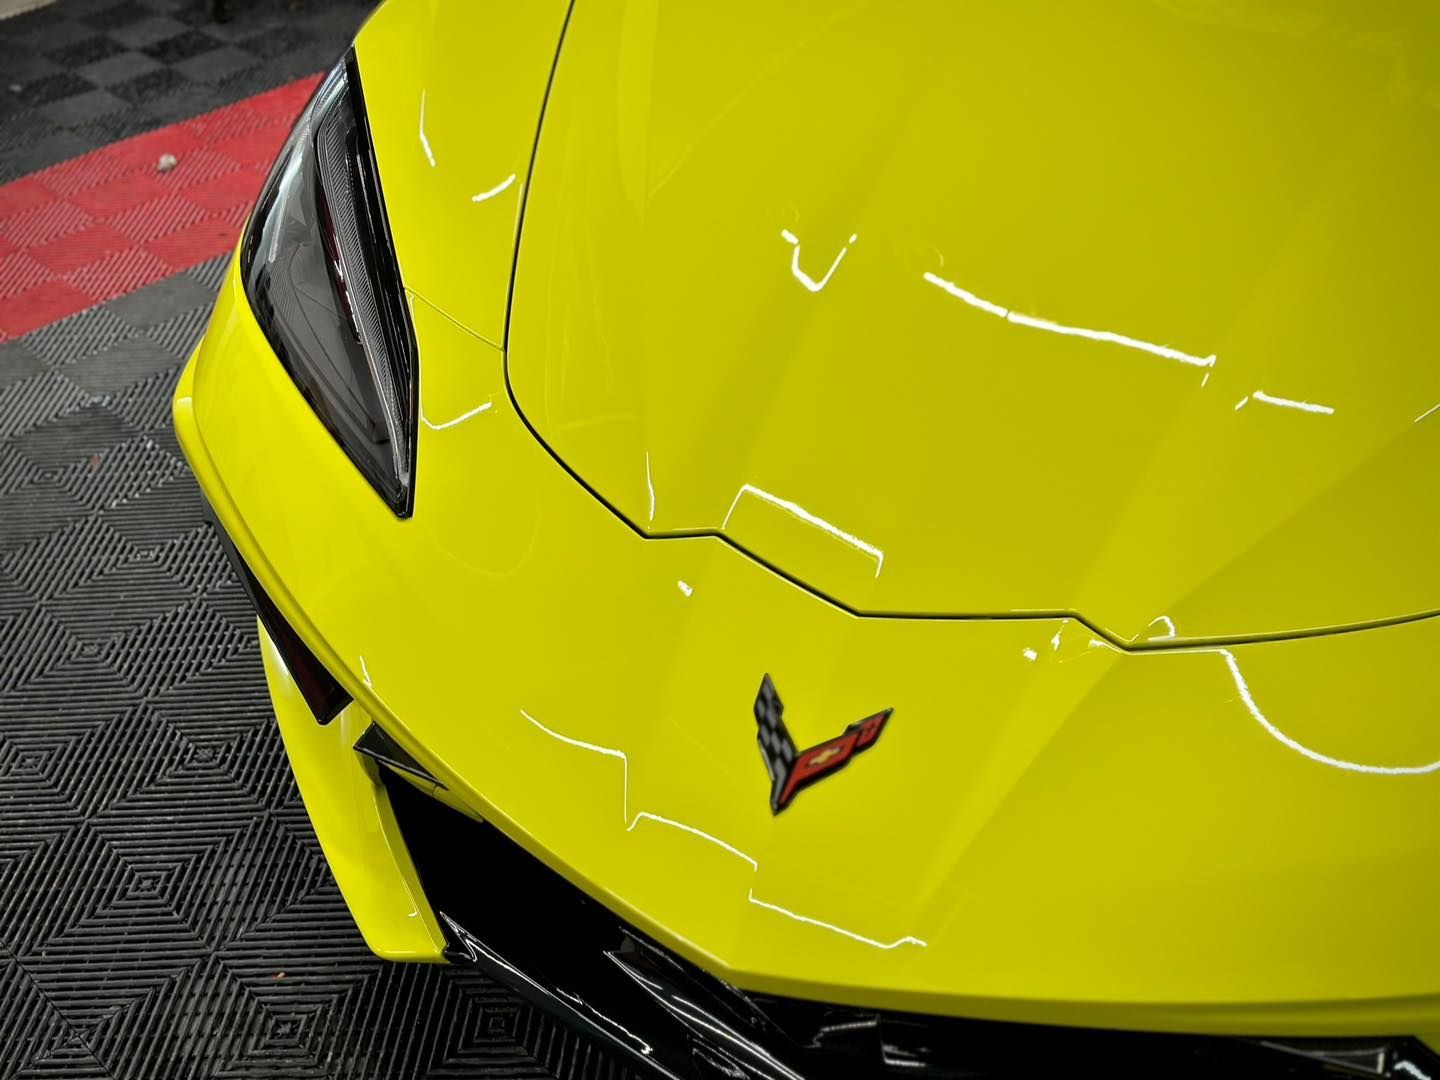
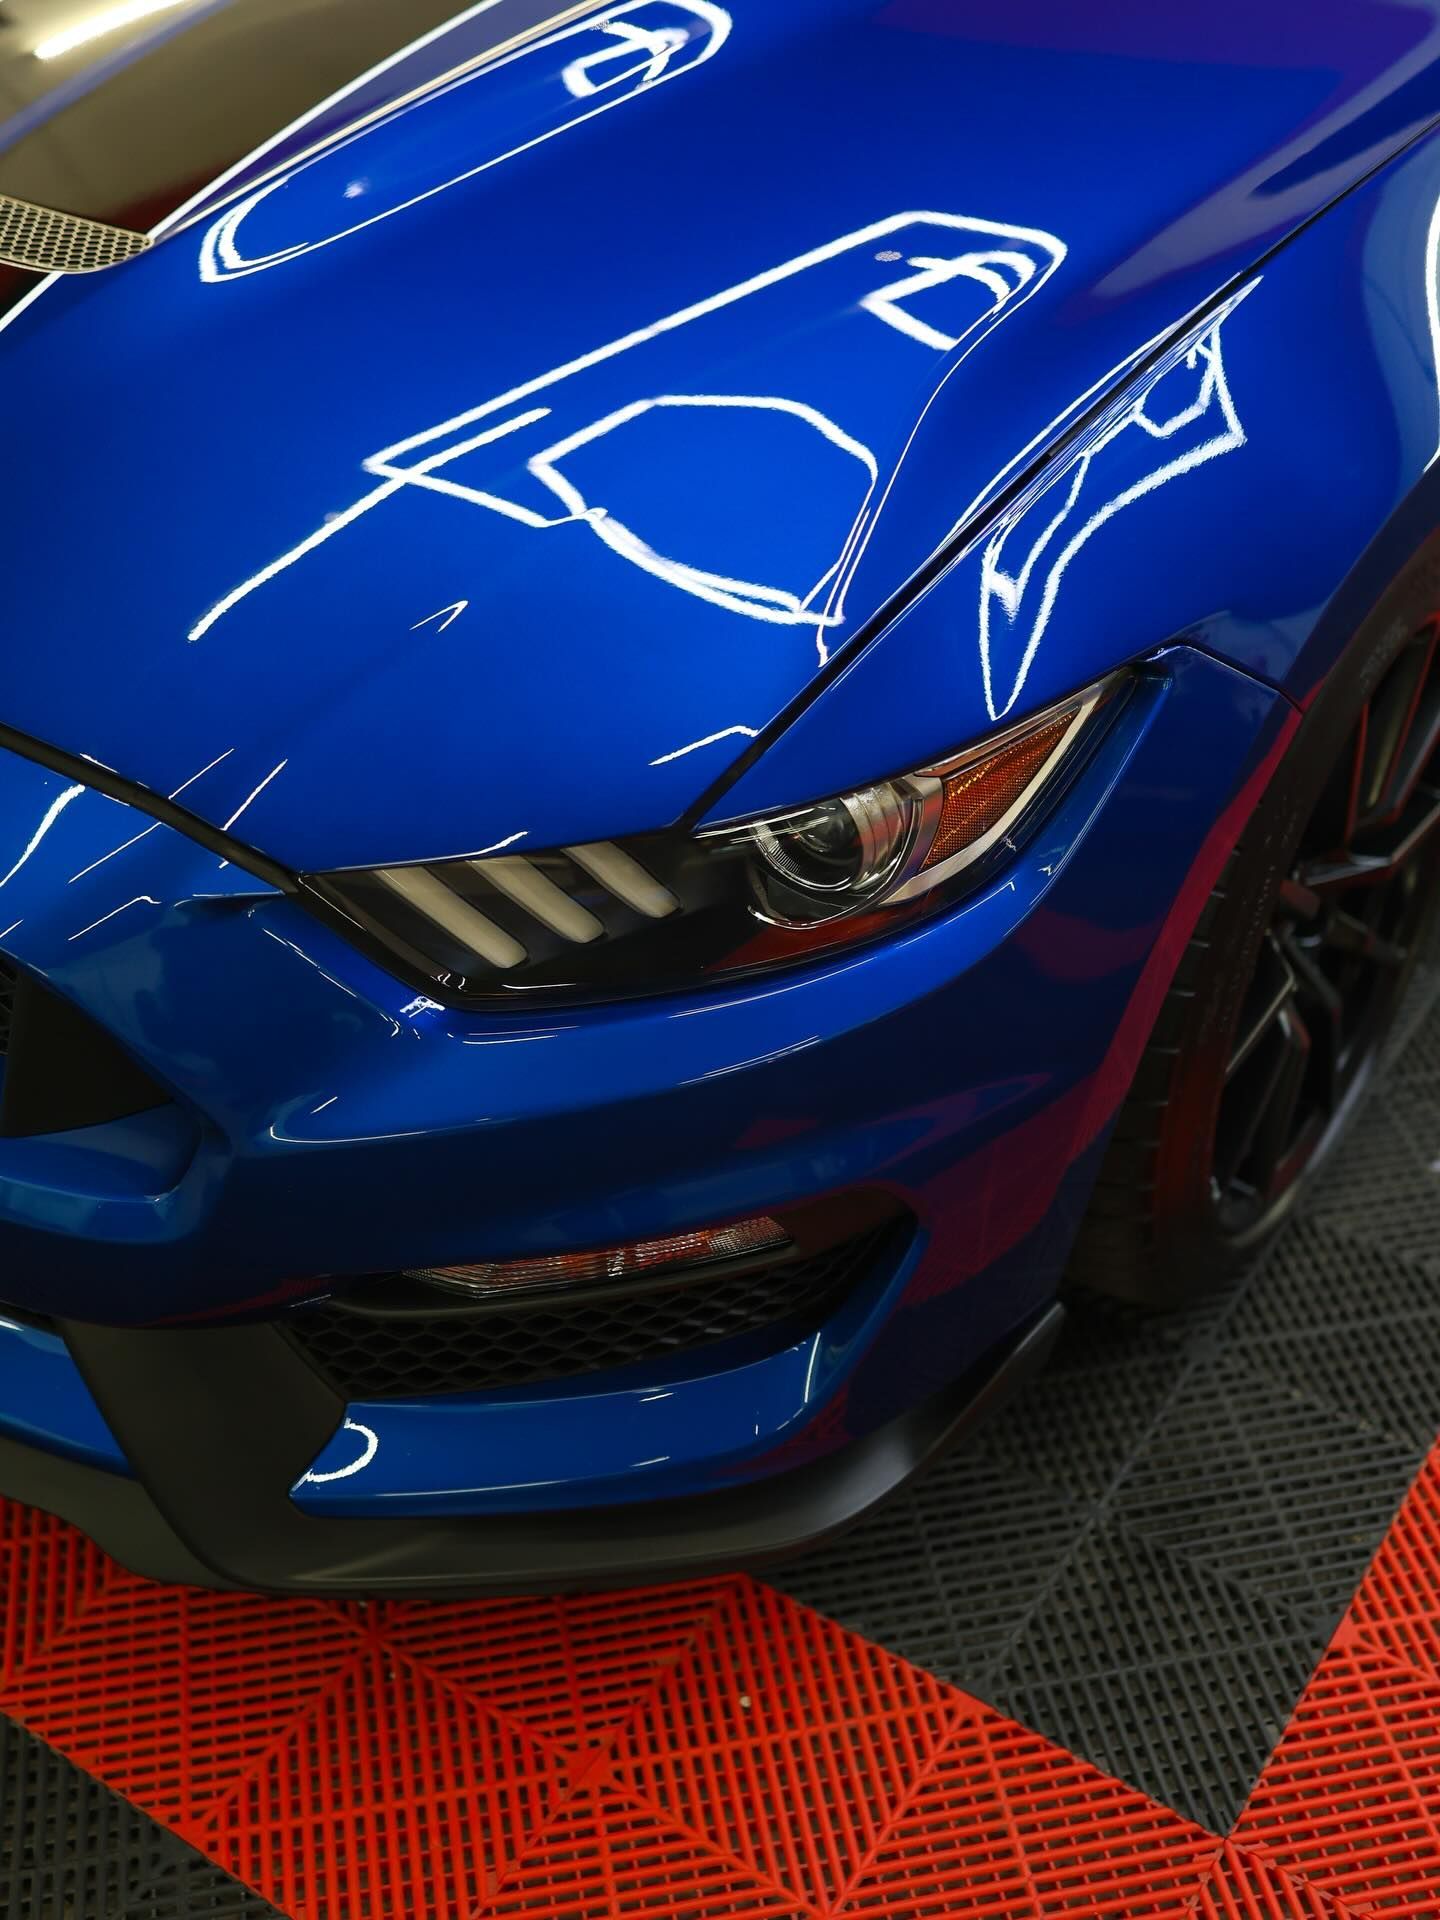
Pro Tip:
Professional inspection lighting reveals defects that are invisible in normal daylight. A healthy paint surface should reflect clean, sharp images with minimal distortion.
Step-by-Step Paint Preparation for Ceramic Coating
Step 1: Detailed Paint Inspection
Every vehicle starts with a thorough inspection under proper lighting. This allows us to identify defects and determine the level of correction needed—no guesswork involved.
Step 2: Safe Pre-Wash
We use pH-balanced automotive shampoo to remove surface dirt without stripping or damaging the clear coat. Household soaps may seem convenient, but they can dry out paint and cause micro-scratches.
Step 3: Decontamination (Clay & Iron Removal)
Even clean-looking paint can hide bonded contaminants like brake dust, industrial fallout, or tree sap.
- Iron removers chemically dissolve embedded metal particles
- Clay bar treatments safely lift stubborn contaminants from the surface
This step restores smoothness and prepares the paint for polishing.
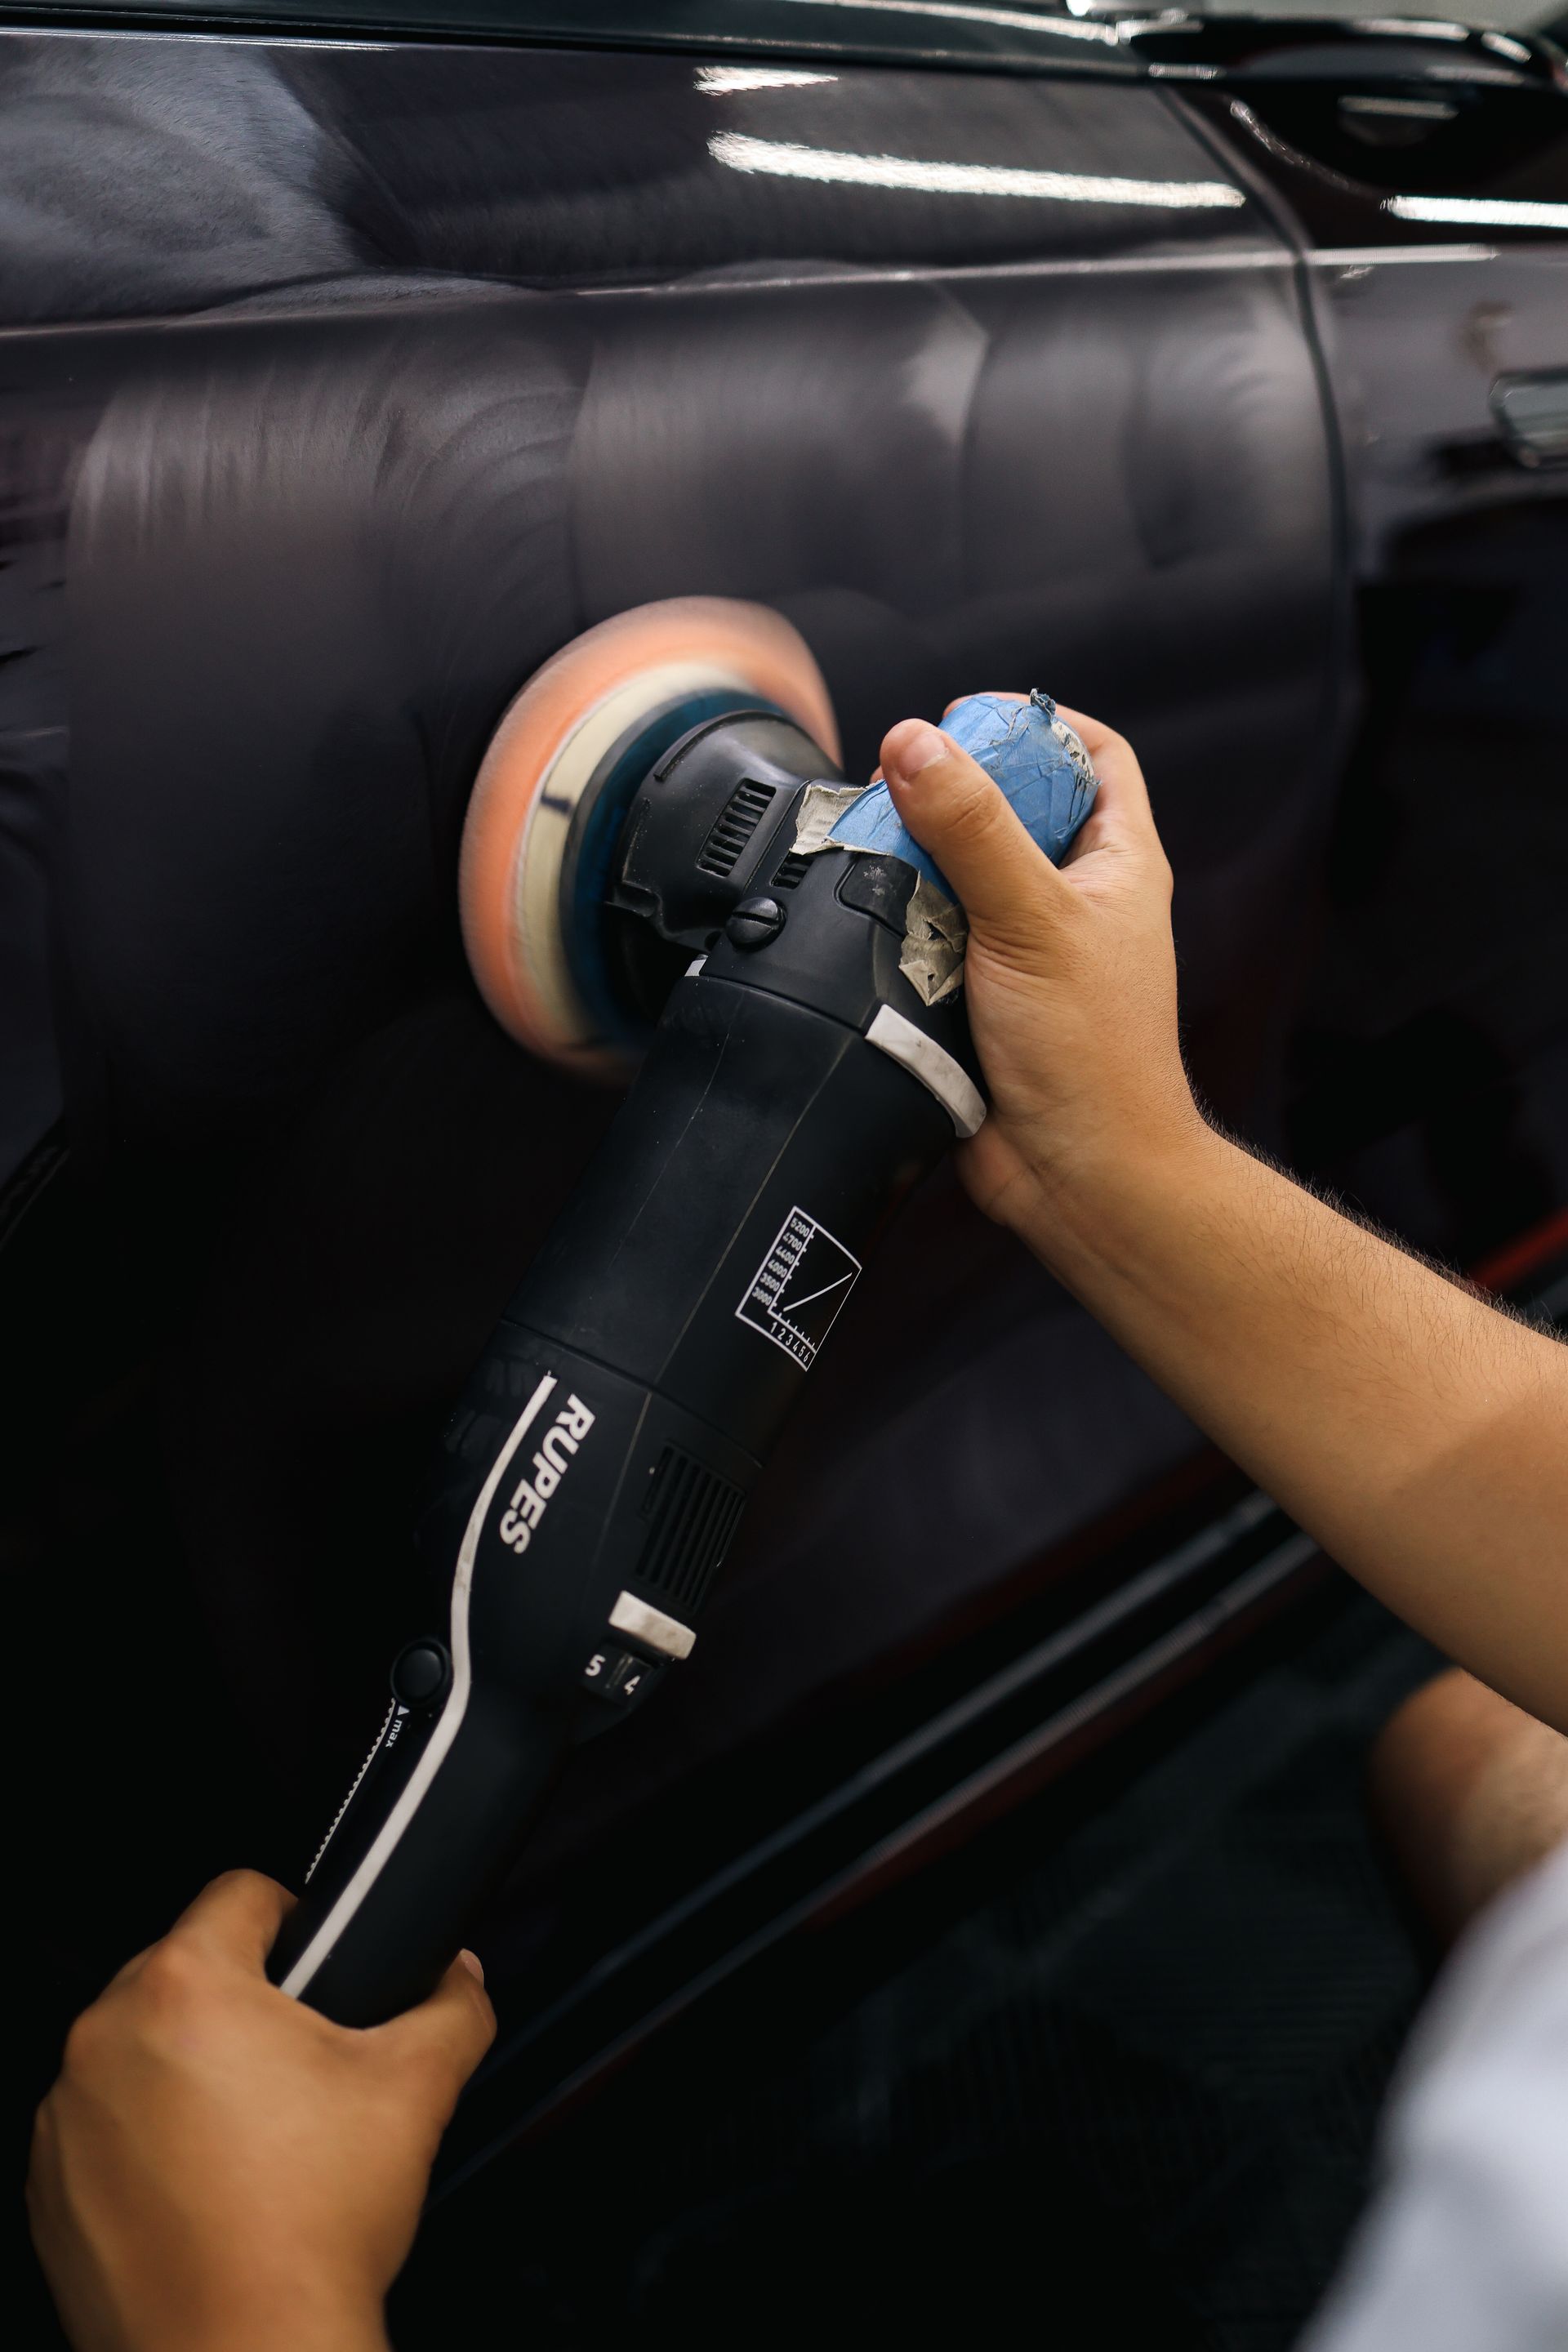
Step 4: Paint Correction
Paint correction removes swirl marks, oxidation, and light scratches through machine polishing. Depending on the vehicle, this process can restore 70–90% of lost clarity and gloss, creating the ideal surface for ceramic coating.
This step is where most of the transformation happens.
Step 5: Final Surface Wipe-Down
After polishing, the paint is wiped down with an isopropyl alcohol solution to remove polishing oils and residue. This ensures the surface is perfectly clean so the ceramic coating can bond correctly and cure evenly.
Why Washing Alone Isn’t Enough
Standard washing removes dirt—but not bonded contaminants. Without proper decontamination, these particles interfere with coating adhesion and can even lead to long-term paint damage.
Best Practices for Contaminant Removal:
- Always use proper lubrication when claying
- Avoid aggressive pressure or abrasive tools
- Allow iron removers enough dwell time without drying
- Pay close attention to edges, emblems, and tight areas
This attention to detail is what separates professional results from DIY disappointment.
Sanding and Polishing: When Deeper Correction Is Needed
For vehicles with deeper scratches or uneven paint texture, light wet sanding may be required before polishing. This process levels imperfections safely and evenly when done correctly.
Once sanding is complete, multi-stage polishing restores gloss and removes haze, leaving behind a mirror-like finish. This refined surface is critical for long-term ceramic coating performance.
While sanding and polishing require experience and precision, they dramatically improve both appearance and coating longevity when done professionally.
Achieving the Best Ceramic Coating Results
Proper application matters just as much as preparation.
Ceramic coating should be applied:
- In a clean, controlled environment
- In small, manageable sections
- Using thin, even layers
- According to manufacturer-recommended flash and cure times
Multiple layers can enhance durability, but over-application can cause curing issues. After application, the coating must cure undisturbed for at least 24–48 hours to fully harden and protect the paint.
Ceramic Coating vs. PPF vs. Window Tint: Why Prep Still Matters
While this guide focuses on ceramic coating, paint preparation also impacts other protective services:
- Paint Protection Film (PPF): Traps defects permanently if paint isn’t corrected first
- Window Tinting: Requires clean, contaminant-free surfaces for proper adhesion
- Ceramic Coating: Enhances—not hides—paint quality
No matter the service, proper prep ensures better performance and longer-lasting results.
Ready for Professional Ceramic Coating Results?
Ceramic coating is an investment—and proper preparation protects that investment.
At Orozco’s Auto Detailing, we deliver professional ceramic coating services backed by meticulous paint correction and proven preparation methods.
We proudly serve:
Lincoln Park, Allen Park, Dearborn, Livonia, Woodhaven, Southgate, Taylor, Redford Charter Township, Canton, Plymouth, Flat Rock, Romulus, and surrounding Metro Detroit areas.
Not sure if your paint needs correction?
A professional inspection can tell you more than you think.
Call: (313) 888-3822
Visit:
orozcosautodetailing.com
Experience the difference that proper preparation makes.
SHARE WITH YOUR FRIENDS